In 3D graphics, character creation is one of the primary and most comprehensive areas. This comprehensive tutorial is designed to provide detailed, phase-by-phase instructions to design a character in 3D that genuinely springs to life. Whether you’re just starting or have already dabbled in 3D artistry, this tutorial is a treasure trove of expert insights and practical tips.
The journey begins with conceptualization, where initial ideas are drafted into a tangible design. This stage is crucial as the character’s personality begins to shape. We then delve into the technical aspects, providing clear instructions on how to make 3D characters using industry-standard tools and pipelines. We will guide you through all stages of transforming your initial design into a fully realized 3D asset or rendered image, with every detail carefully crafted and refined.
So, get ready to unfold your creative potential and bring your character ideas to life in the exciting world of 3D!
Conceptualization and Design
We will start from the conceptualization.

At this point your game character design truly takes flight. You’ll consider their traits – are they brave, shy, cunning, or kind-hearted? And then, their personality – are they a bubbly extrovert or a thoughtful introvert? Do they have a dry sense of humor or wear their heart on their sleeve? And let’s remember the backstory, the events that shaped them into who they are. These details fill your concept with meaning and history and make it possible to consider how it differs from others.
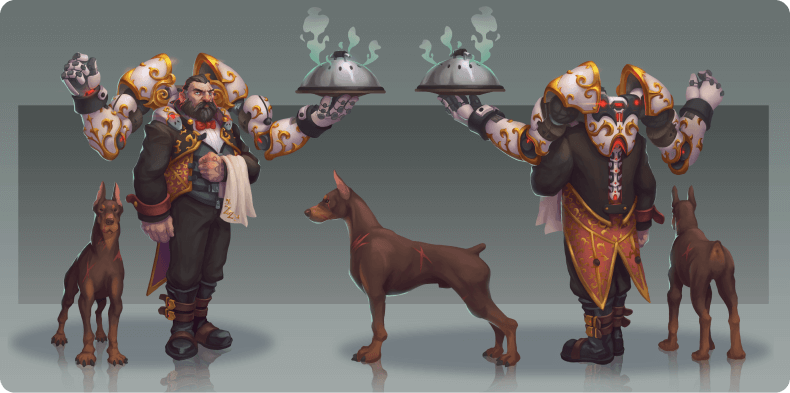
After conceptualizing comes the thrilling part – initial sketching! This is where your character concept art begins to take physical form. Brainstorming plays a massive role in this stage. Try out different shapes, sizes, and styles. Experiment with clothing, accessories, and even expressions. It’s all about giving your character a unique identity to make them stand out in any game.
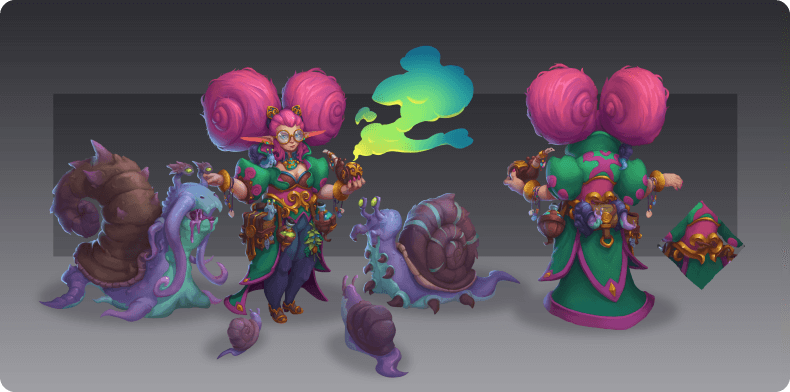
Remember, the aim here is not to simply create a character but to tell their story through their design. So don’t hold back – let your creativity run wild and watch as your character springs to life from the depths of your imagination!
3D Modeling
Moving forward, the modeler enters the 3d modeling phase, using specialized software to create a 3D character basic form and structure.
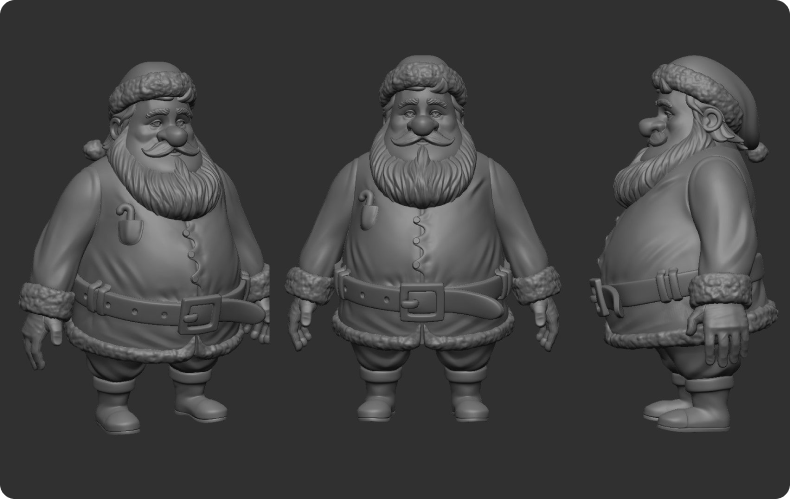
One can follow different pipelines or workflows in this process, each with its advantages and considerations. The choice between creating a low poly or high poly character largely depends on the final usage of the model. Low poly models are more lightweight for game engines and require fewer computational resources, making them ideal for real-time rendering applications like video games. On the other hand, high poly models have more detail and are better suited for pre-rendered animations or stills where realism is critical.
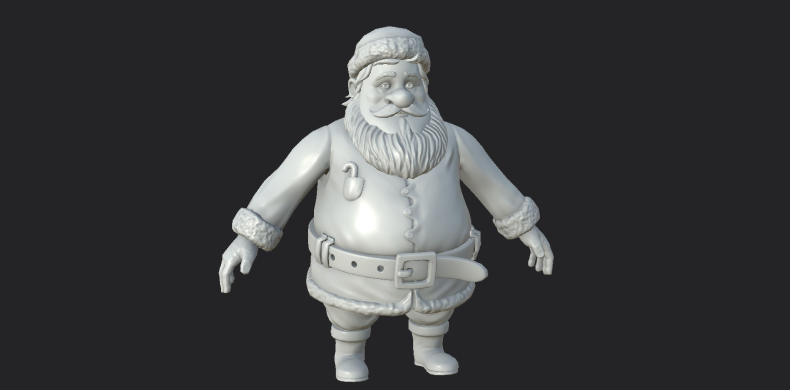
Beyond the basic form, fine-tuning a character’s physical shape is another crucial aspect of 3D character design. This involves shaping and refining the model to add details such as muscles, clothing, hair, and facial features. Again, techniques and software choices will vary depending on the level of detail required and the artist’s personal workflow preferences.
Texturing
Texturing is the next stage in the video game character design process, which reveals your 3D character by adding depth, color, and realistic details. It is the procedure of creating 2D textures and building materials for the character’s skin, clothing, and accessories following the completion of the 3D modeling pipeline. Texture design gives the asset its unique appearance, enabling it to interact realistically with light and its environment.
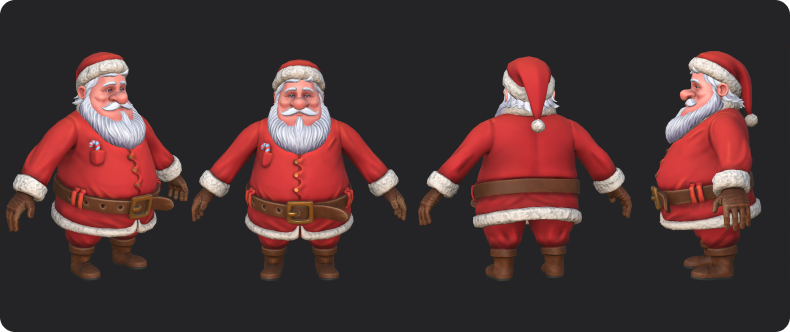
Among the vital character design tips for texturing is considering the game or final usage requirements. The texture style can vary significantly depending on these factors. For instance, cartoon-style games may utilize exaggerated, vibrant textures, while hand-drawn textures add a unique, artistic feel. On the other hand, semi-realistic and realistic textures are typically used for more serious or mature games or applications that require lifelike characters. Procedural textures, generated using an algorithm rather than directly painted or photographed, offer considerable control over details and variability.
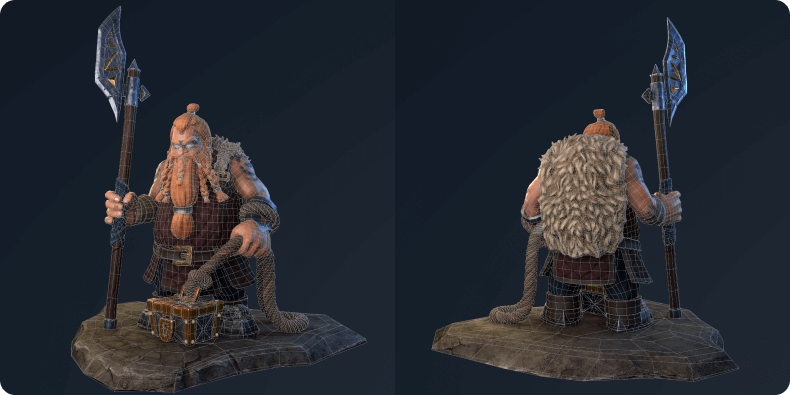
The texturing process requires careful planning and execution to ensure that the final character design aligns with the game’s visual style and thematic elements. Thus, understanding texturing techniques is integral to creating compelling and immersive video game characters.
Rigging
When learning how to make 3d characters for games, it’s always valuable to master the rigging (together with skinning) techniques. This milestone is responsible for building an internal skeleton (bone system) for your character. It’s similar to the human skeletal structure, offering support and facilitating movement. Rigging is the digital equivalent, providing a framework that defines how the character can act.
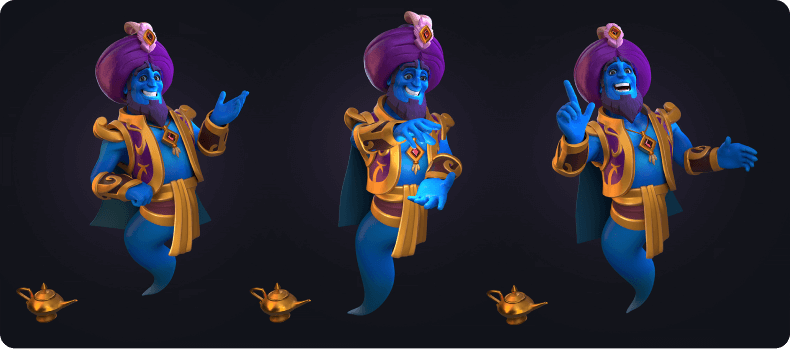
Each ‘bone’ in this system is a line or chain of lines, which is then attached to the mesh (3d geometry). Rigging lets you articulate your character by rotating the bones, much like a puppet. Skinning, conversely, is the process of syncing your character’s mesh with its skeleton. This means that when you move a bone, the mesh moves with it, creating a movement.
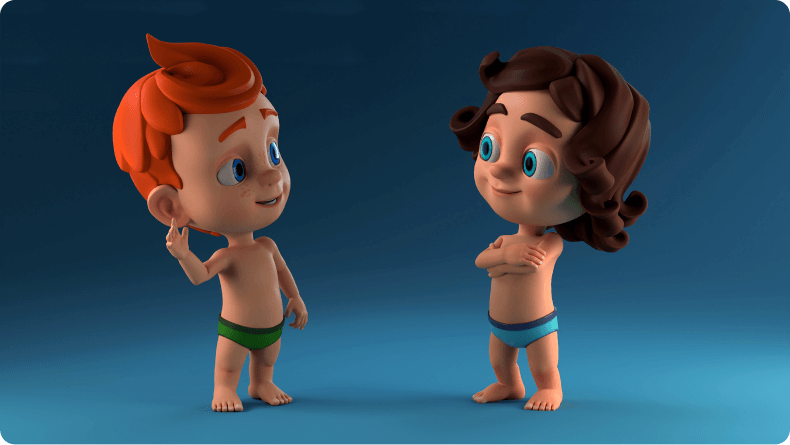
Without doing this part, your character would be static and lifeless. However, when it’s done, your characters can run, jump and believably interact with their environment. This step is vital for animations and interactivity in video game design as it breathes life into your characters. Rigging and skinning are complex skills to master but indispensable in learning how to design video game characters.
Animation
The principles of character animation are pivotal in planning and designing fluid and lifelike movements for video game characters. They enhance the player’s experience by introducing realism and expressiveness to the game characters. Understanding these principles can aid in the process of how to design a video game character, making it walk, run, jump, or express various emotions.
The first principle is timing, which refers to the speed at which an animation occurs. This principle is crucial in creating a sense of weight and size for characters. The second principle is squash and stretch, which gives the characters a sense of flexibility and fluidity. Another critical principle is anticipation, which helps prepare the player for the character’s next move.
Furthermore, following through and overlapping action can add realism to the movements by accounting for inertia and delay. Staging is another principle that directs the viewer’s attention to significant actions or reactions within the game. The character’s pose and movement should be designed in such a way that it communicates its intentions, emotions, and activities.
Lighting and Rendering
Mastering proper visualization techniques is crucial to producing high-quality assets. The correct use of shaders, lighting setups, and rendering engines can bring your characters to life, adding depth, texture, and a sense of realism. Shaders are another way to visualize your materials using a specific setup of textures, lighting, and visualization, affecting how the surfaces of objects react to light and shadow. On the other hand, lighting setups help create the right mood and atmosphere for your scene.
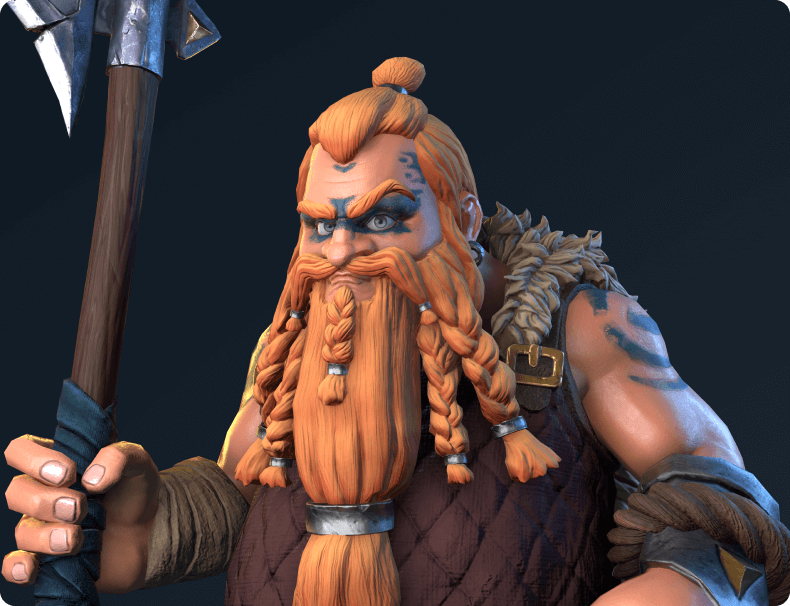
The choice of rendering engine can also significantly impact how your 3D character models appear. Real-time rendering in engines like Unreal Engine and Unity allows immediate visual feedback and is often used to create video games or virtual reality experiences. Static rendering tools such as Vray, Corona, and other built-in rendering tools for 3dMax, Blender, and Marmoset Toolbag provide highly realistic visuals but may require more processing time.
Regardless of your choice of tools or rendering pipelines, understanding how to use lighting and rendering techniques effectively is essential for anyone looking to make 3D character models. Through our character design tips, practice, and experimentation, you can learn to master these techniques to make your characters truly shine.
Final Touches and Post-Processing
When it comes to the final stage of a character design tutorial, the importance of final touches and post-processing techniques cannot be overstated. As a character designer 3D, refining your character with post-processing effects will give your design that extra layer of polish and visual appeal. These effects help to enhance the character’s specifics, sharpen details, and improve overall visual aesthetics. This stage is crucial as it can distinguish between a good design and a great one.
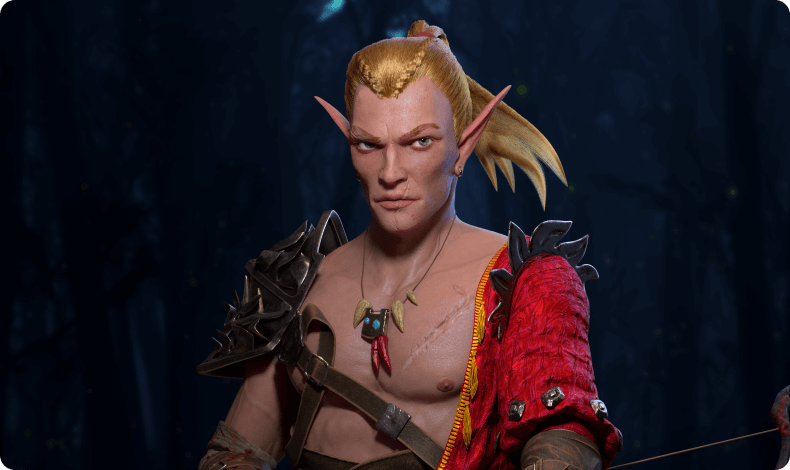
This is where your character will become even more unique, adding depth, realism, and personality. Thus, mastering post-processing is a key skill for any person who’s aiming to level up his skills in how to create 3d characters.
Conclusion
In this tutorial, we imparted our expertise and experience in building characters suitable for diverse applications, whether games, animations, or personal projects. We provided a comprehensive step-by-step guide on how to design game characters, making it an ideal resource for both beginners venturing into 3D artistry and seasoned 3D artists seeking to enhance their skills.
If you have more questions, want to share with us your cases of how to make 3D character models for games, or need help with issues related to 3D characters, our gaming company in Melbourne is here to assist you with any support at any time.
SUMMARIZE THIS PAGE
Contact us


